Showing posts with label fall. Show all posts

'Fall'ow me....(hehehe)

Here it is four days before Halloween and I am just posting some of my fall/Halloween decorations but as they say better late than never I suppose!
We will start with my daughter's room - she likes decorating for seasons almost as much as I do.
I made the BOO letters a few Halloween's ago, just the cardboard letters from Hobby Lobby, some scrap paper and of course Modge Podge!  Super easy - I painted the edges which made it even easier.


Here is my entertainment center in the living room - OH how that cord hanging from the TV is a thorn in my side!!!  My husband says I just need to get a longer one and he can hide it through the wall....we shall see!  ;)
Here is a closer look at the pumpkins.


Next up, the fireplace.  It's kind of weird to see your home in pictures, like that candle on the right looks yellow but in real life it's the same as the others.  Maybe it's my mad picture taking skills, ha!  Anyway, we have yet to buy gas logs or use real logs because we keep hearing arguments against both and can't make a decision!!  Any opinions would be welcome before it gets too cold around here!
Here are just a few things in my kitchen.

and the top of my frig...

And finally my cutie jack-o-lantern I bought at Sam's a few years ago.
I just added the ribbon to the handles, it makes me smile when I hand out candy to the kiddos!
Have a fun and safe Halloween!

Boo!!

I cannot remember where this original idea came from.  All I know is I thought it was so cute but never got around to doing it until I saw the glass domes at a garage sale.  So props to whomever came up with this great idea.
Yes that's a ceiling fan light dome and a black sharpie.  Hehe!
and I don't know why the wall looks so dirty but I promise you it's not!!

I put a battery powered tea light in it and it welcomes guests into the kid's bathroom.
Super simple. Super cute!
Have a bootiful Halloween!

Tricks or Treats?

Since trick-or-treating can wear out the little ones as well as the big ones...this year I made our house the "last stop" for our little group to grab a snack and a seat and relax (or watch some football :) )  You see our town did trick or treating last night, October 30th.  So I threw together some snacks and decor and had a ball.  Here are some pics of the treats - no tricks here!
Here's our little hot dog "mummies".  They were super simple.  All you need are some hot dogs and croissants.  I baked them according to the directions on the croissant tube.  The eyes are mustard but I will say this, wait until the mummies cool a bit before putting on the eyes because they will just melt into the hot dog otherwise.  And I used a toothpick to make such small dots. 

And here are our ghosts....although the white chocolate turned out more cream colored so we had some ghosts who weren't feeling well!  But they still tasted awesome!

Yummy treats!!

Hope you have a safe and happy Halloween!

There is an apple under all that oooey goodness....

I have wanted to make caramel apples for several years now since one of my friends made one for me.  But I always chickened out.  I just didn't think I could pull it off.  But this year I put my fears aside and went for it.  I figured the worst that could happen is I would have to eat my mistakes.  So I made four for my first go round and I have to say it was easier than I thought!
So I started with 4 big Granny Smith apples which I forgot to take a picture of and a bag of these amazing little caramel bits.  The are little bits of caramel that do not have to be unwrapped plus they come with 5 sticks!!  Brilliant!

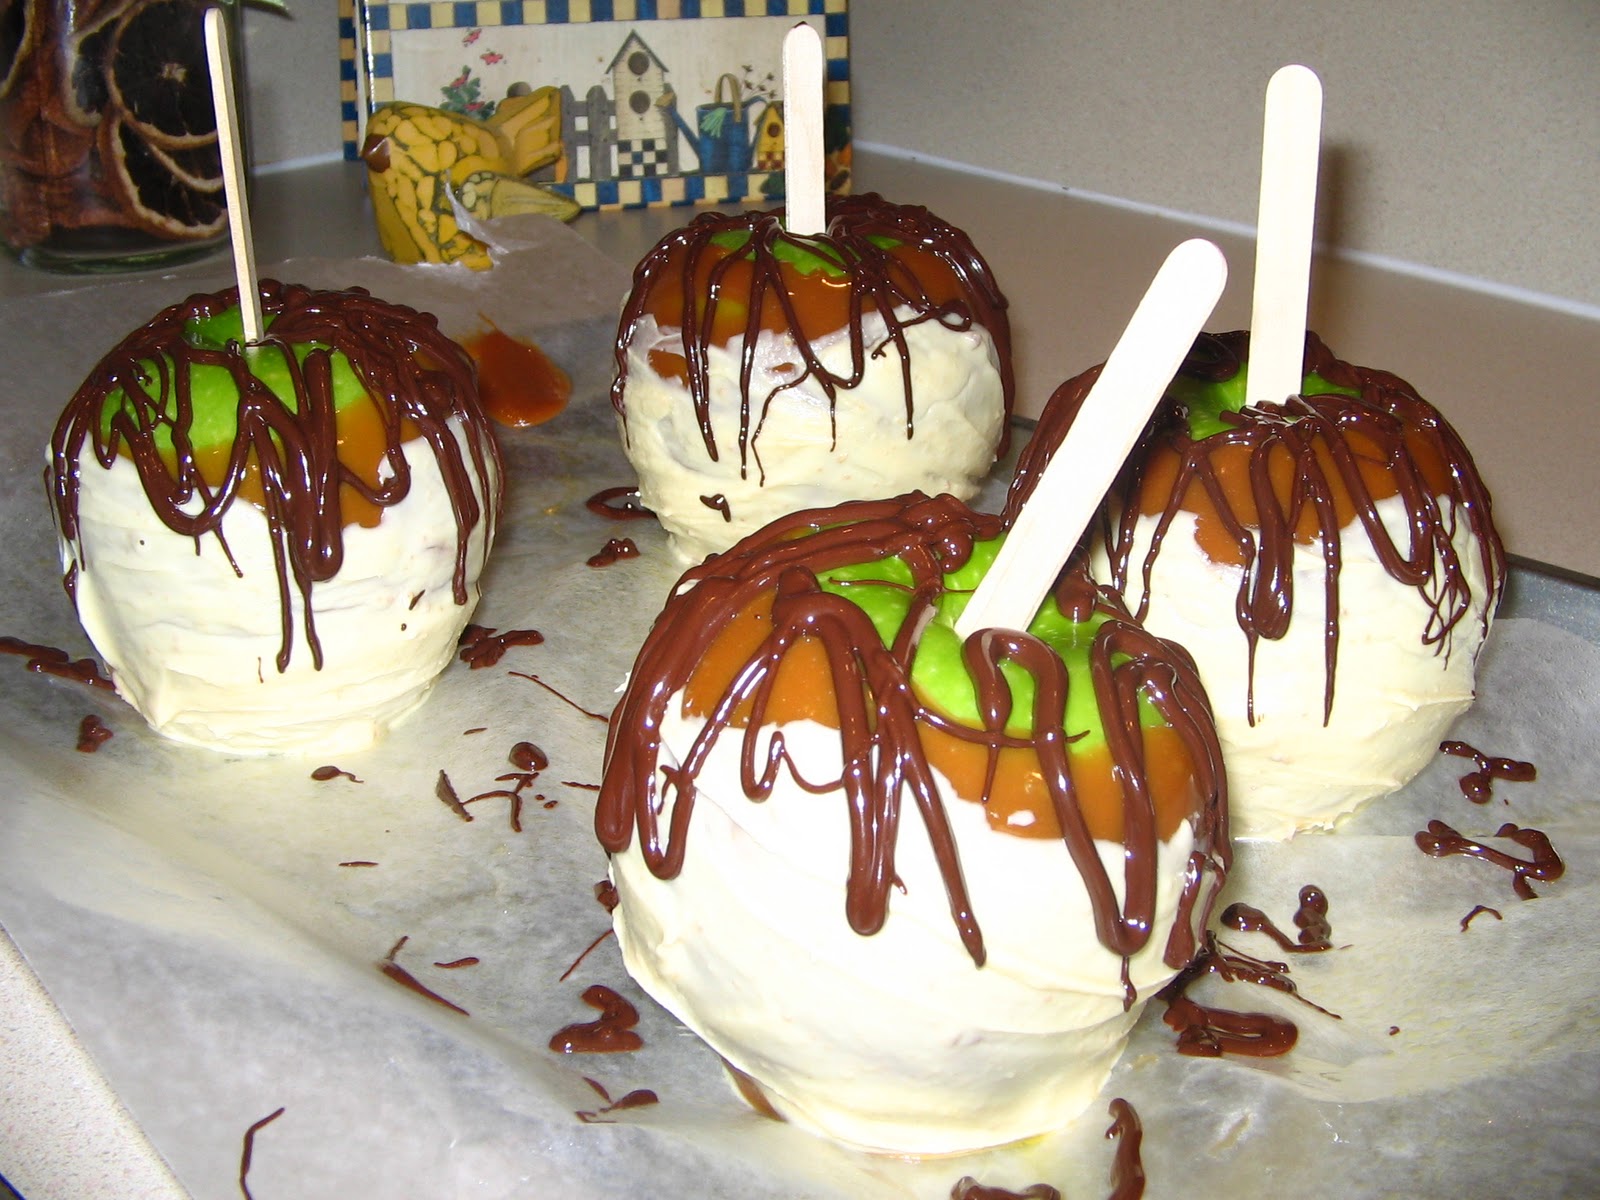
I melted the caramel and white chocolate squares (in separate pans of course) then dipped them in caramel first and let them sit in the fridge for about a half hour.  When they were nice and solid I dipped them in the white chocolate.

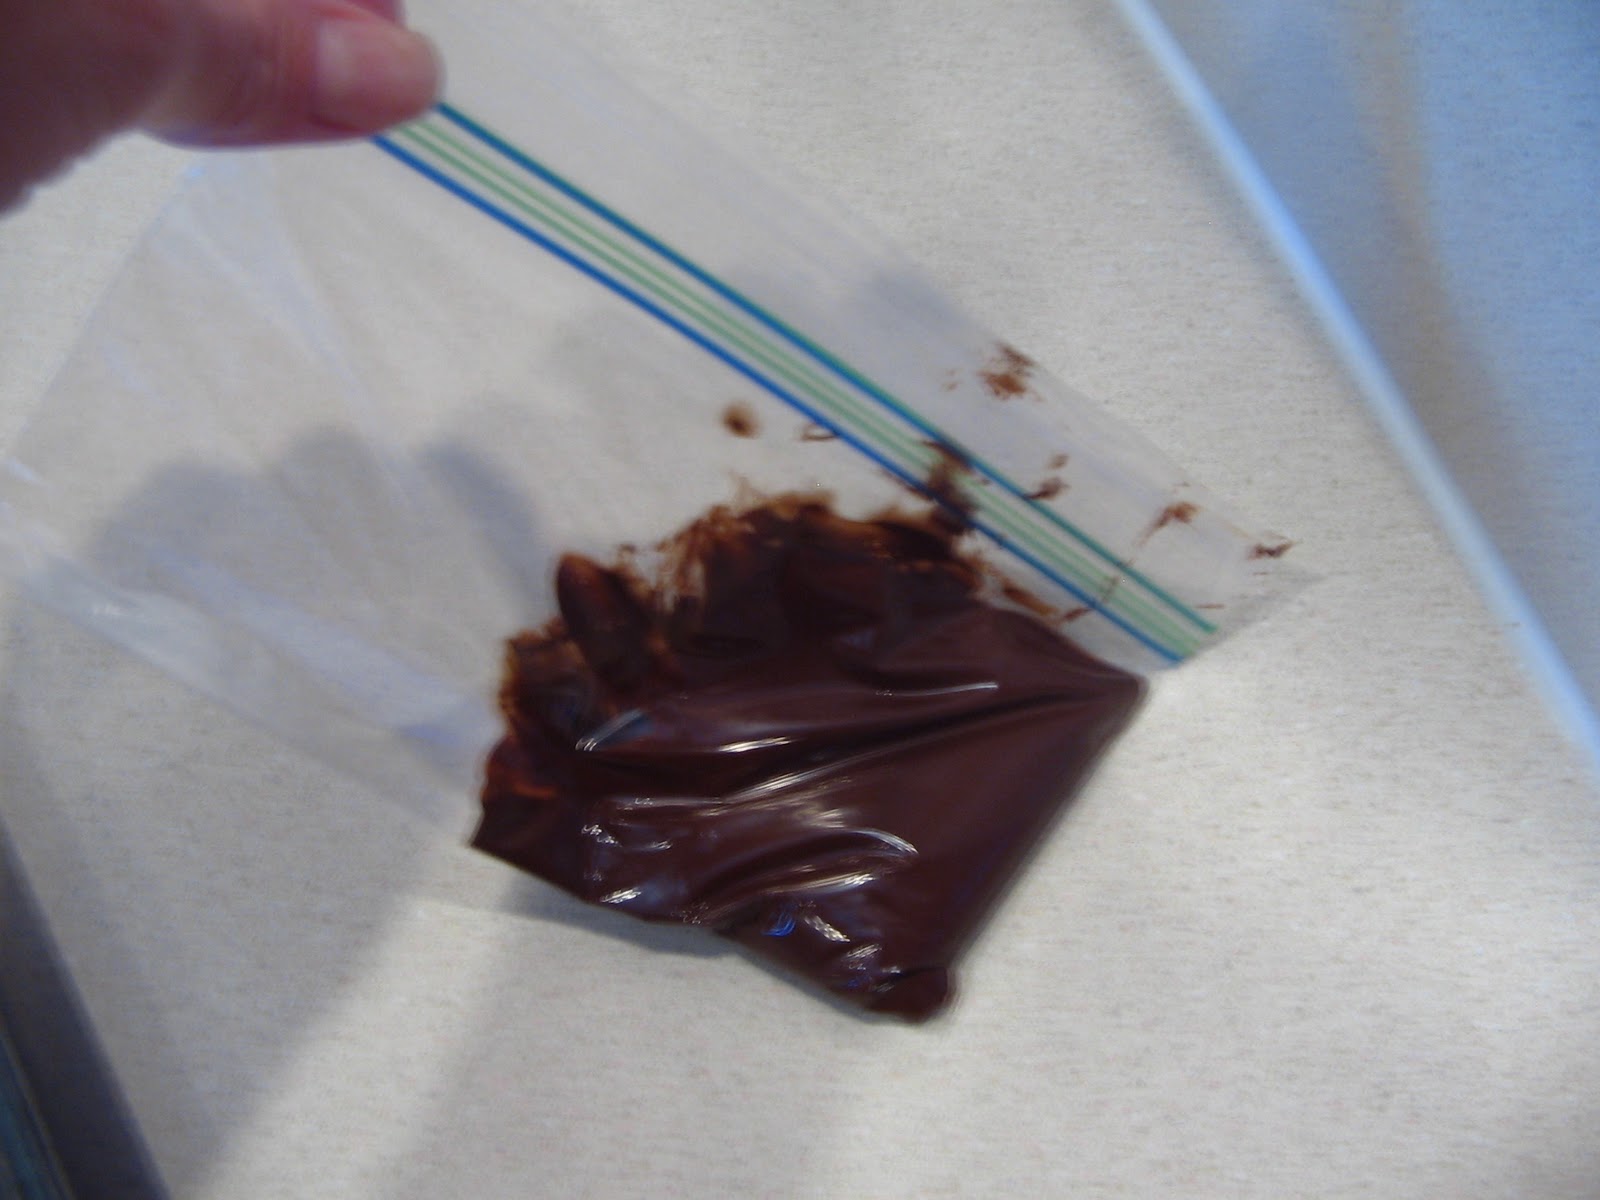
I had a couple squares of milk chocolate in the pantry so I melted it down and put it in a snack baggie.  Cut off the end a bit and drizzled it on the apples like this:

Then I decided to chop up some walnuts and sprinkle them on top along with a few chocolate chips.


I then put them back in the frig for about an hour.  When they were done I grabbed some baggies and ribbon and wrapped them up!

I just made the tags using old scrapbook paper!  Simple, cute and delish!!  You didn't think I gave these away without sampling did you?!

Finally Fall on the Outside!!

I've been delaying my pumpkin purchases until it was a little cooler but this weekend I couldn't wait any longer!  Here is a look at my fall porch!

 I painted my front door black and can't wait to get some black shutters on the front window!
 Here is my scarecrow who helps welcome everyone inside.  A big thanks to my friend Staci who made him for me.
 I made this "outside" pillow by using a vinyl tablecloth.  So easy, plus if it rains I can just wipe it off!

On a side note, I was looking for a pillow to put on my garage sale chair and I found one, where else, but another garage sale.  Man, I love this time of year!

A Walk Around the House

Just some pics of what I've done around the house for fall....


Here's some pics of the white pumpkins added to my mantel garland.
On the black shelving in my living room....
This arrangement is actually in the kids bathroom, thought it would add a fall touch.


Dining table centerpiece

And you can't forget the Bath & Body Works yummy cinnamon pumpkin hand soap!
Once I get the outside fun up I will post some more!

Fall is finally here!!!!

So I've been waiting and counting days and I finally felt it was time to get out the fall decorations!  Not quite time for the outside pumpkins and all that good stuff.  It's still too hot here but the inside is fall fun!  One thing I wanted to do was have a garland on the hutch my grandma just gave me (which I will post about later)
So out came all the pics and flowers and berries and good fall stuff!

Add and wrap and add and wrap....grab the wire and wrap some more...
Now it's time to put it on the hutch!!
Yay for fall!!!

You crackle me up!

So I recently discovered Crackle Medium at Hobby Lobby after reading about it online.  I love the crackle look anyway and now I want to crackle everything in my house!  But I settled for some fall pumpkins.  I had these in a garland last year and wanted some white pumpkins without spending alot, so I got some craft paint and crackle medium and went to work!
Here is what I started with (sorry the pics are a little blurry)


I added a coat of brown paint to the pumpkins and let it dry.  Then applied a coat crackle medium and let dry.  Lastly I added a coat of off white paint and as it dried they looked like this:
Love it!  Now I can add them to my mantel garland!  Happy crackling!