'Fall'ow me....(hehehe)

Here it is four days before Halloween and I am just posting some of my fall/Halloween decorations but as they say better late than never I suppose!
We will start with my daughter's room - she likes decorating for seasons almost as much as I do.
I made the BOO letters a few Halloween's ago, just the cardboard letters from Hobby Lobby, some scrap paper and of course Modge Podge!  Super easy - I painted the edges which made it even easier.


Here is my entertainment center in the living room - OH how that cord hanging from the TV is a thorn in my side!!!  My husband says I just need to get a longer one and he can hide it through the wall....we shall see!  ;)
Here is a closer look at the pumpkins.


Next up, the fireplace.  It's kind of weird to see your home in pictures, like that candle on the right looks yellow but in real life it's the same as the others.  Maybe it's my mad picture taking skills, ha!  Anyway, we have yet to buy gas logs or use real logs because we keep hearing arguments against both and can't make a decision!!  Any opinions would be welcome before it gets too cold around here!
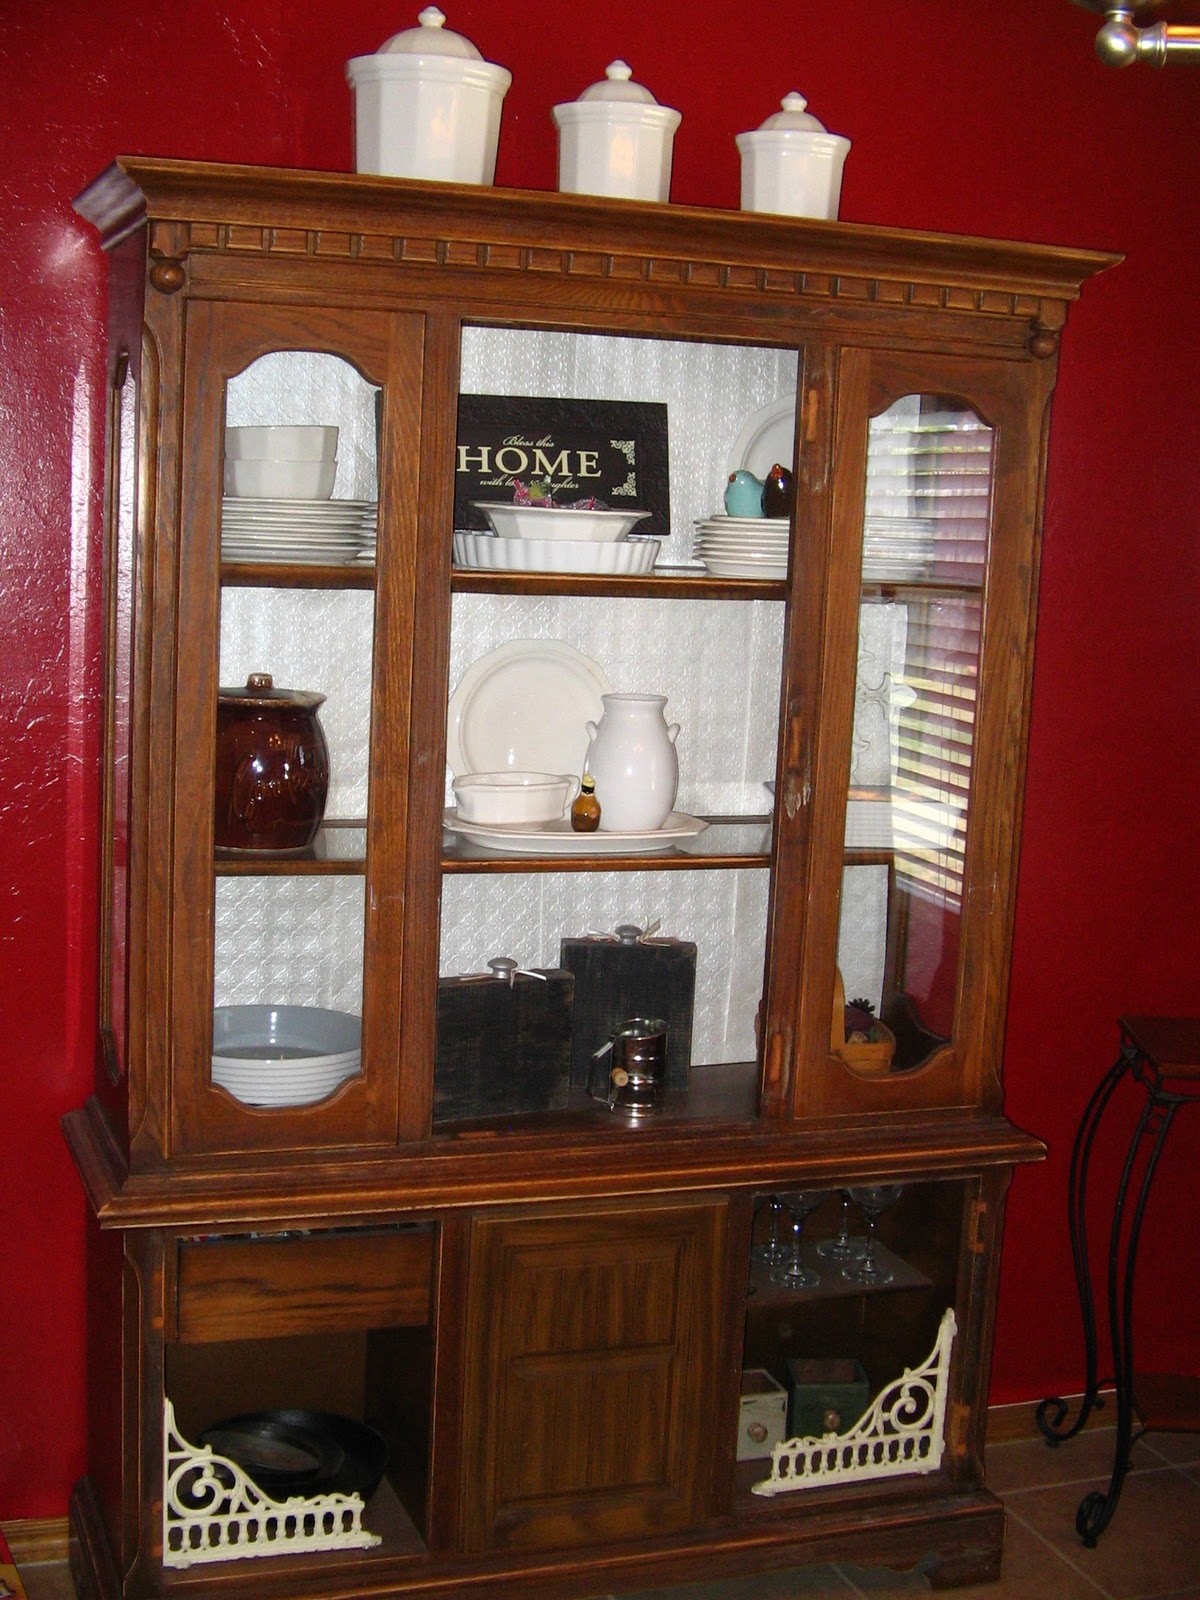
Here are just a few things in my kitchen.

and the top of my frig...

And finally my cutie jack-o-lantern I bought at Sam's a few years ago.
I just added the ribbon to the handles, it makes me smile when I hand out candy to the kiddos!
Have a fun and safe Halloween!

Fall in every nook and cranny


This chalkboard is in my laundry room on a wall that very few people look at, including my family. 
But I do and it makes me smile!  :)

CRAZY hair day!!

My kids LOVE crazy hair day!  It's one of the few days of howdy week that my son will participate in.  This year we went all buggy.  I saw the idea on a blog a long time ago so I can't remember where (figures)!
I went to Dollar Tree and bought a package of plastic bugs. 
These guys gave me the least heebie geebies out of all of them.
I hot glued them to his sister's barrettes (that's the pink and yellow you see, haha)
And you have your very own bug garden.....boy smiling creepily not included

Boo!!

I cannot remember where this original idea came from.  All I know is I thought it was so cute but never got around to doing it until I saw the glass domes at a garage sale.  So props to whomever came up with this great idea.
Yes that's a ceiling fan light dome and a black sharpie.  Hehe!
and I don't know why the wall looks so dirty but I promise you it's not!!

I put a battery powered tea light in it and it welcomes guests into the kid's bathroom.
Super simple. Super cute!
Have a bootiful Halloween!

Tip o' the day!

Toast crumbs.....pet peeve.  Toast crumbs that fall out of the bottom of the toaster.....bigger pet peeve.  So here is my answer to the problem.  Cookie sheet. 
Slide into cabinet

No more crumbs on the counter!  Now toast sweat I can do nothing about :)

Furniture re-do(s)

I have not posted in FOREVA!!  I've been busy, busy, busy....too busy for my taste.  I'm still trying to get my bearings on my schedule and priorities BUT I'm getting there slowly but surely!  Anyway, I did spend a weekend sanding and priming and painting and sealing a couple pieces of furniture and I'm pretty happy with how they turned out.  First up, my grandma's hutch.  I've been wanting to paint this puppy for about a year and a half, you see how quick I am.  Regardless, I finally did it and here is the before:

I had already taken of the glass doors in the middle and all the hardware but I really wanted it black. 
Here it is after the primer:

First coat of black:


And here is the finished product:

I didn't sand it because of all the nooks and crannies, so I just put on a coat of primer, two coats of paint and a coat of polyurethane.  I was originally going to antique it but liked the gloss black like it was.

Next up, the coffee table I took from the side of the road.  That's right - a guy set it out on his curb and when I drove by and saw it I asked him if I could have it.  He said yes and even helped me load it in the car!  I forgot to take a picture until I had already started sanding it but you will get the idea.
The lines on the tarp are from painting my shutters, ha!
I used my handy dandy sander that I got for Mother's Day a few years ago, best. gift. ever.
After the primer

After the first coat of black - it took two
After two coats of black, I sanded some spots, put stain over them to antique it then put on a coat of polyurethane on it too.
So here it is today:
You will have to forgive me my pathetic camera.
I tried another to show the antiquing, not great but you get the idea.
So that's it for painting furniture....until I start my room!